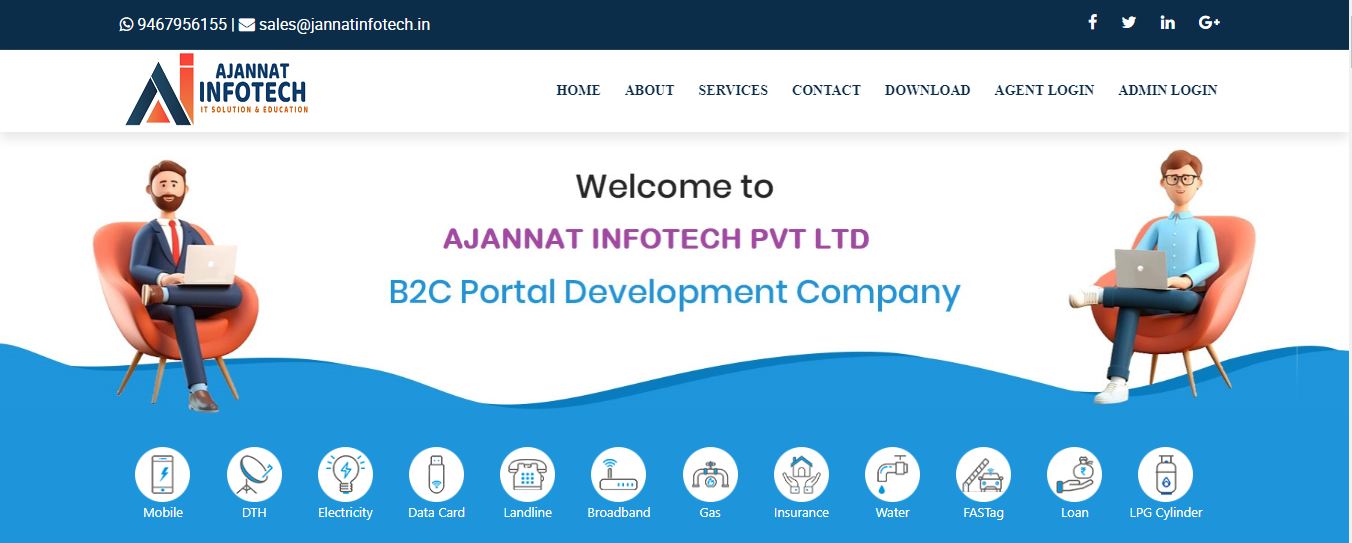
Matrimonial Website System Complete Online Script in CMS Full Source Code AJANNAT INFOTECH PVT LTD
Inhouse product


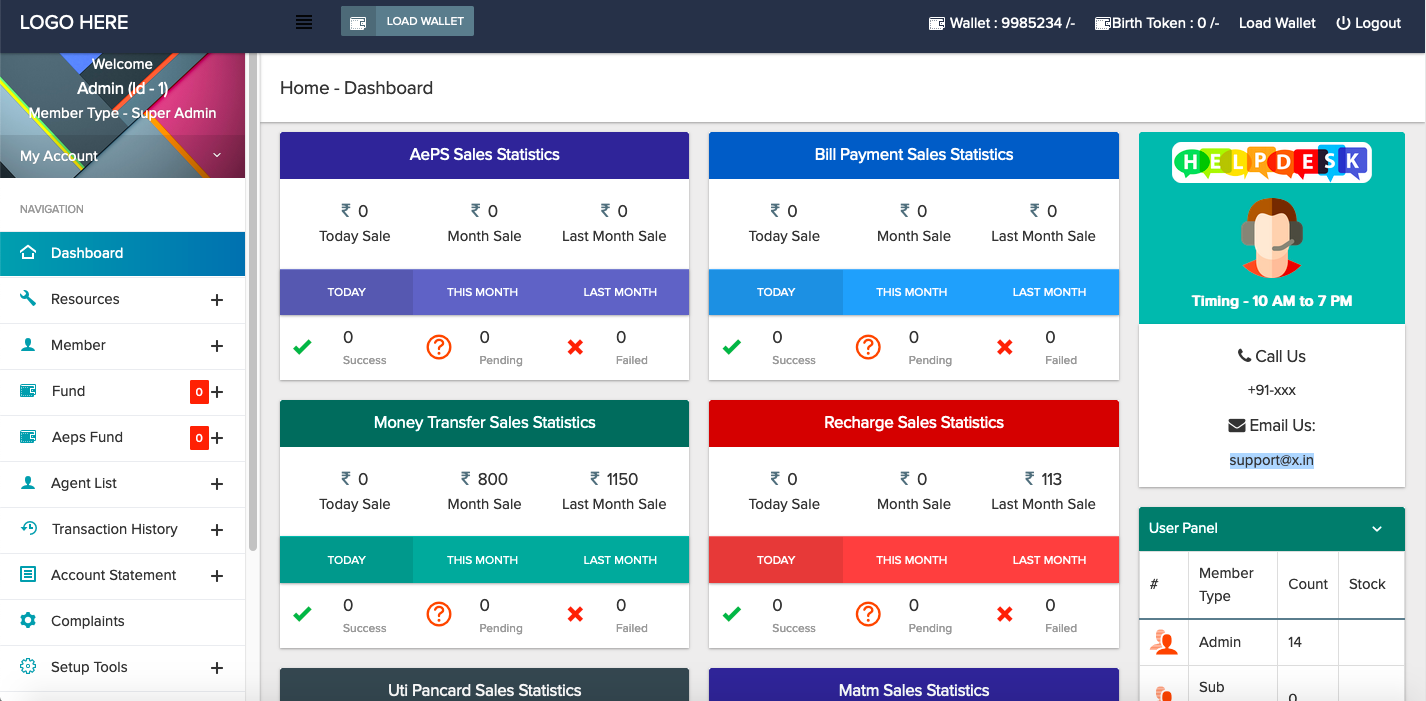
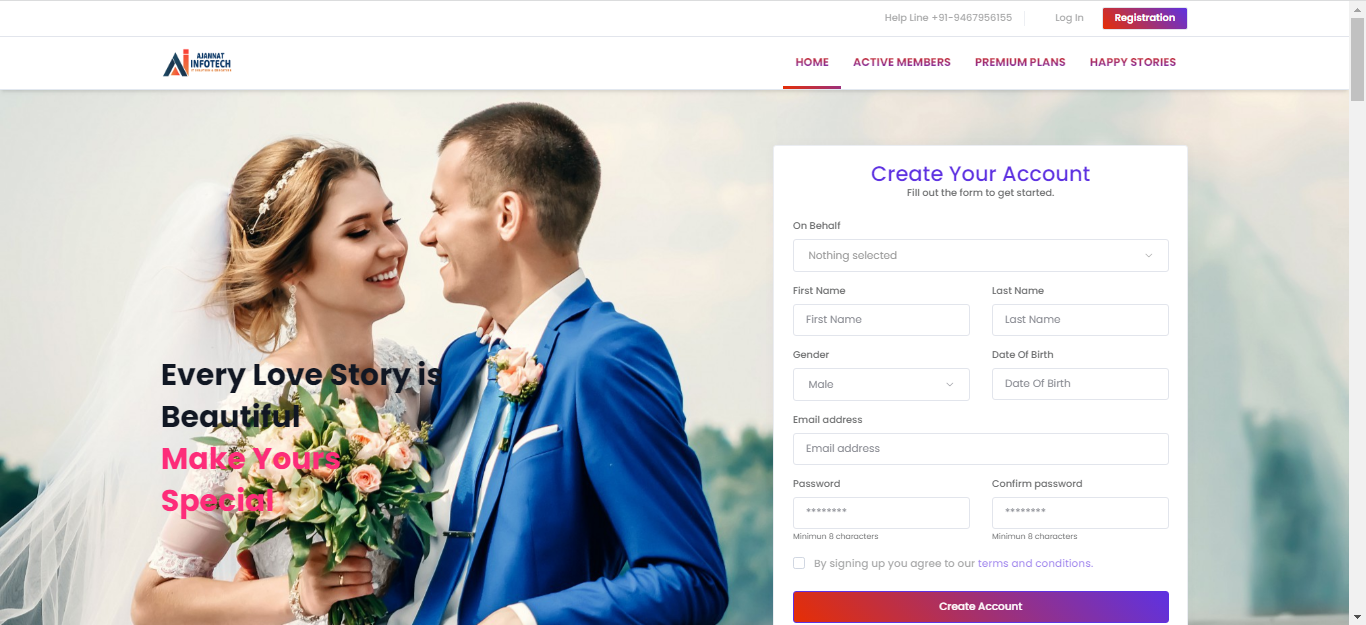
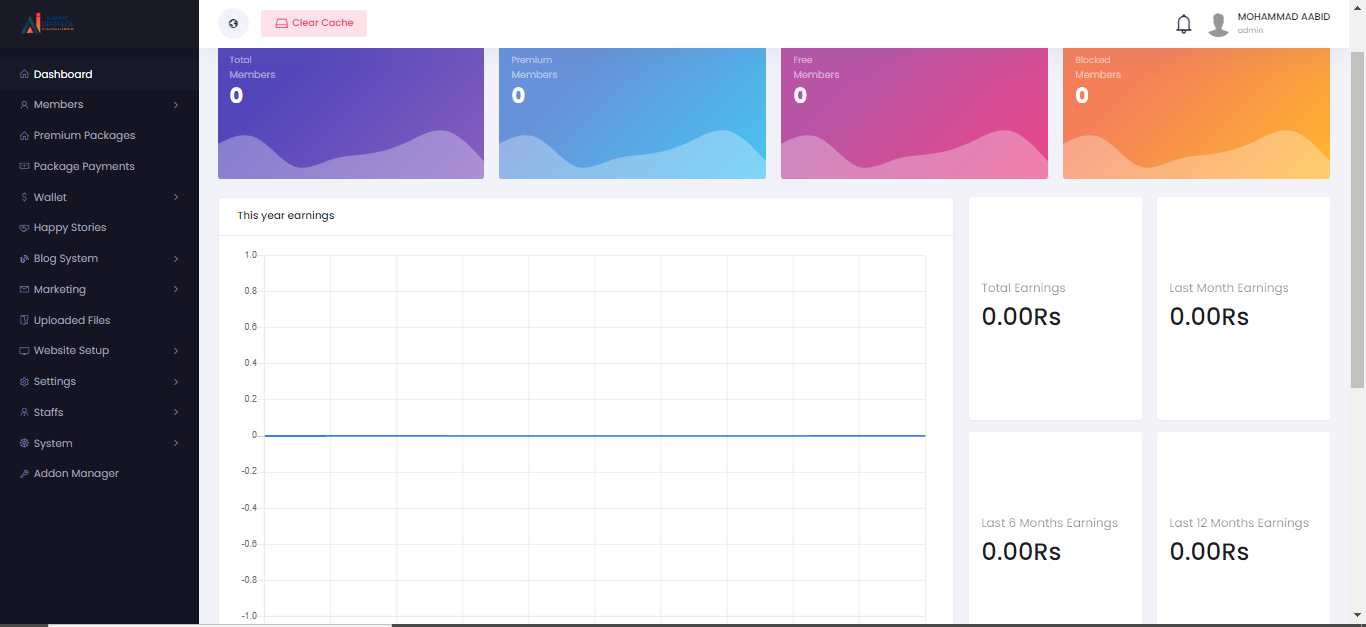
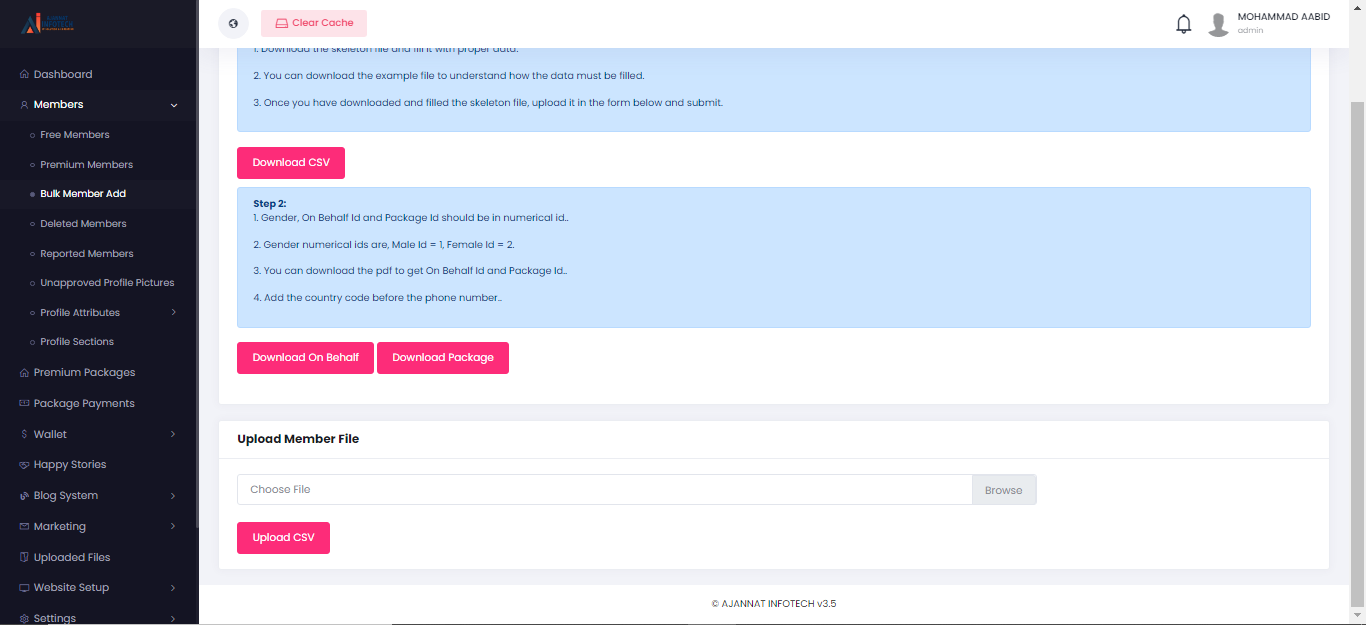
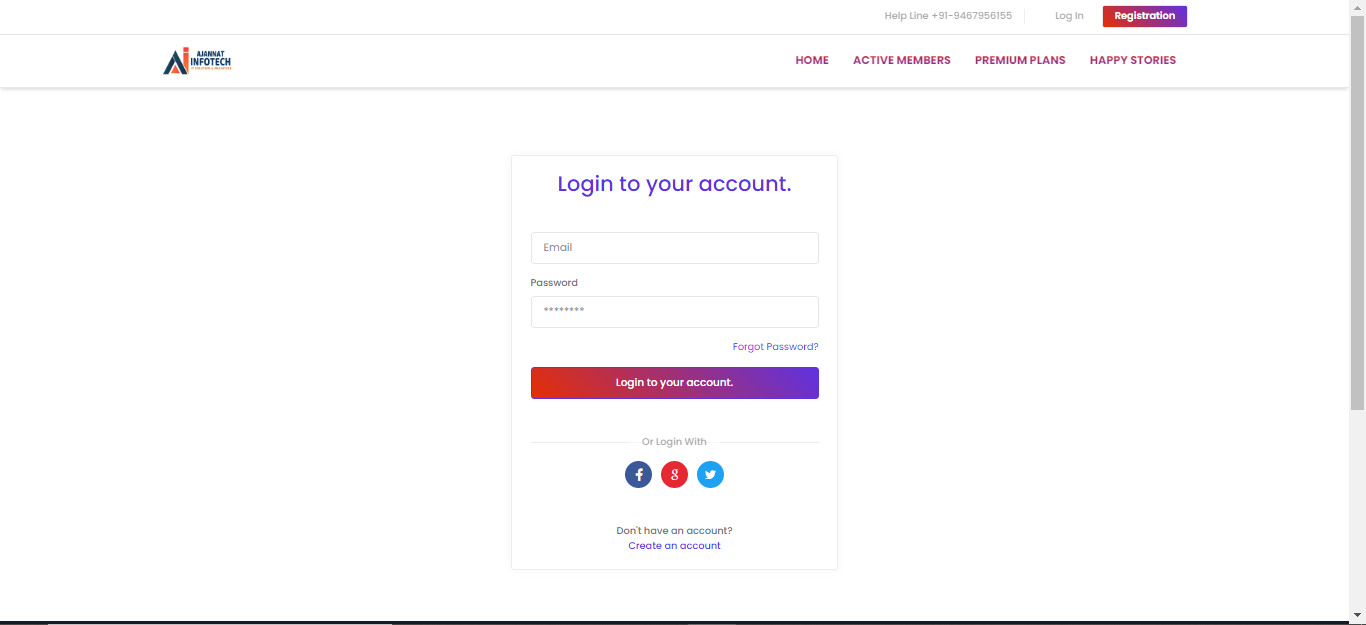
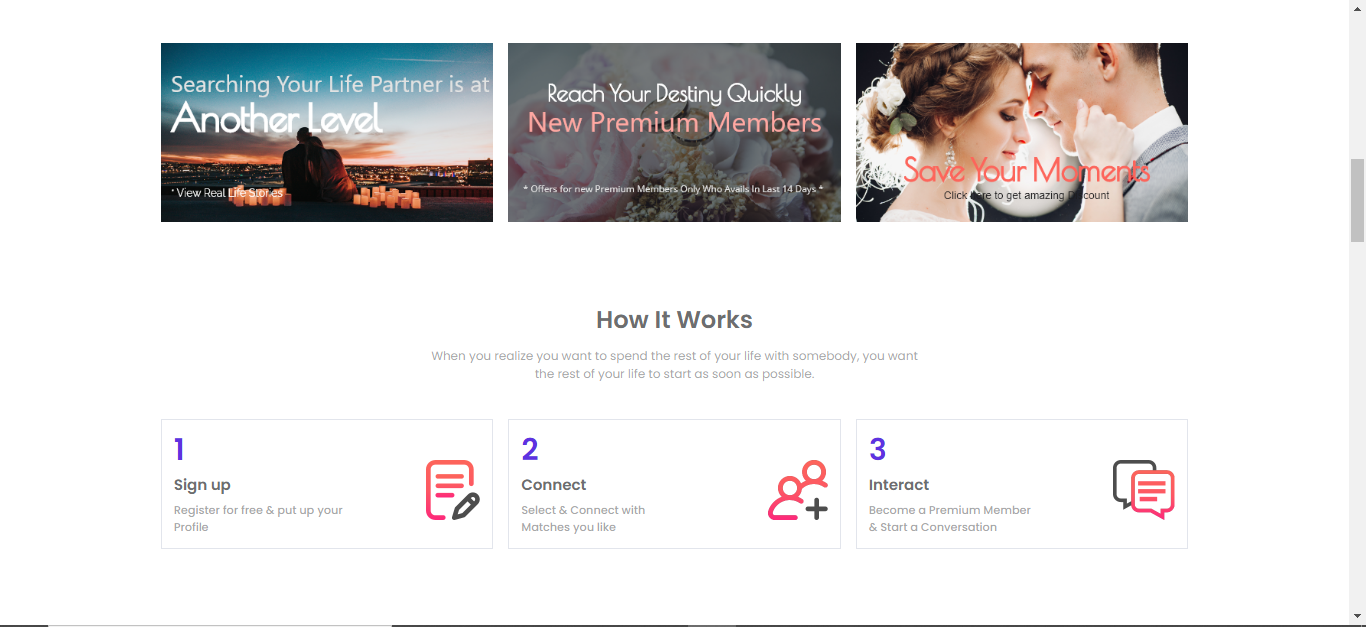
Online Matrimonial Website System Script Features
DEMO LINK
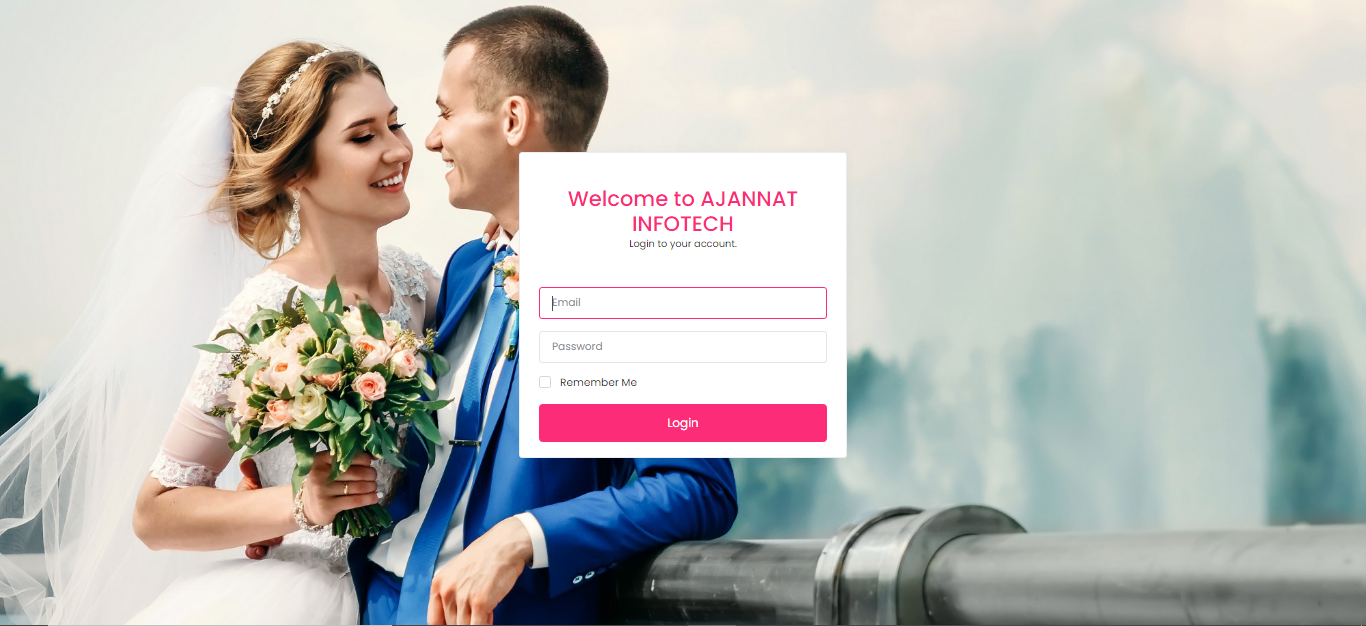
https://matrimonial.jannatinfotech.xyz/admin
user name . [email protected]
PASSWORD Admin
These are the following features of Online Matrimonial Website System Script Project:
- Responsive design
- Powerful admin dashboard
- Dynamic Color Theme
- Dynamic Frontend Design
- Staff Role created by admin
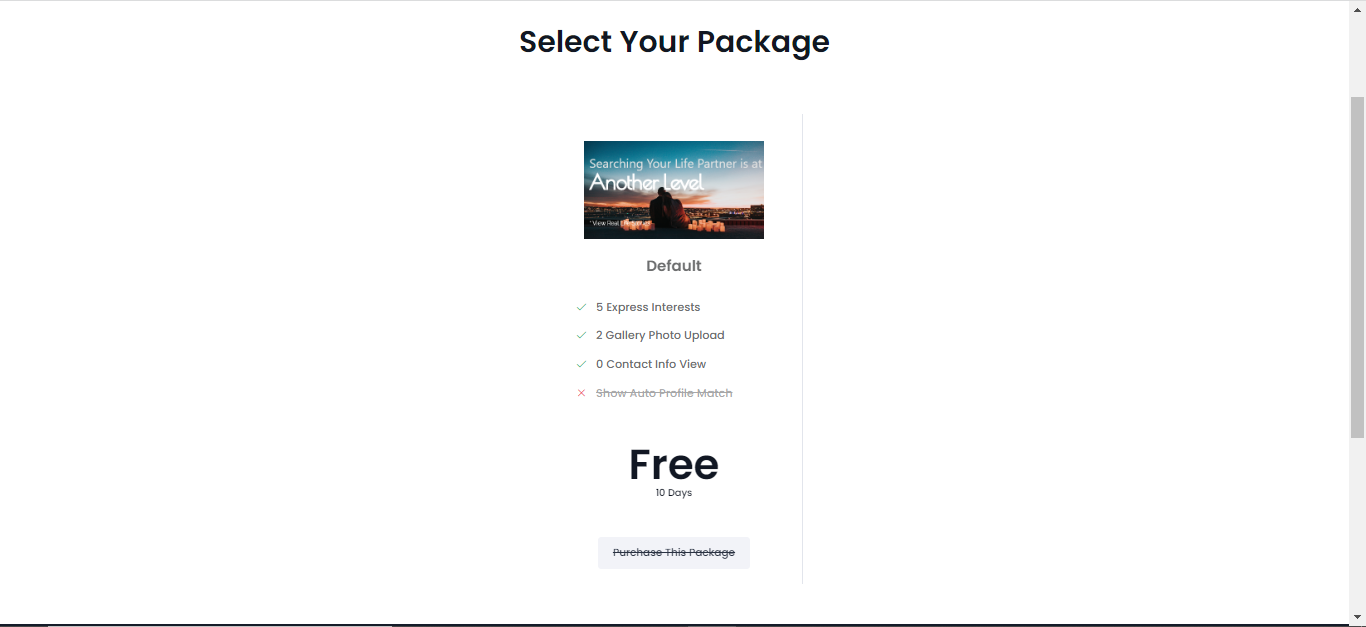
- Dynamic Subscription System
- Premium Plans
- Premium Membership
- Free membership
- Multiple Payment Option
- Quick Homepage Search
- Auto Matchmaking
- Express Interest
- Personal Messaging
- Ignore Member
- Create Shortlist
- Personal Photo Gallery
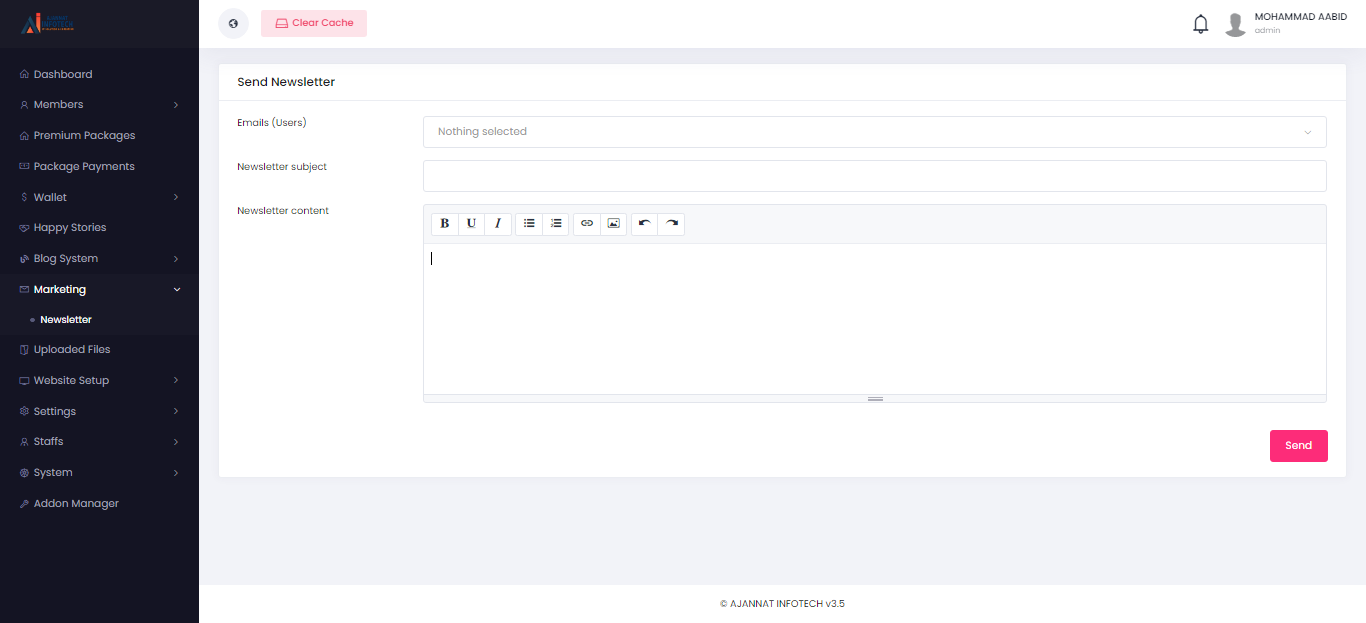
- Smart communication
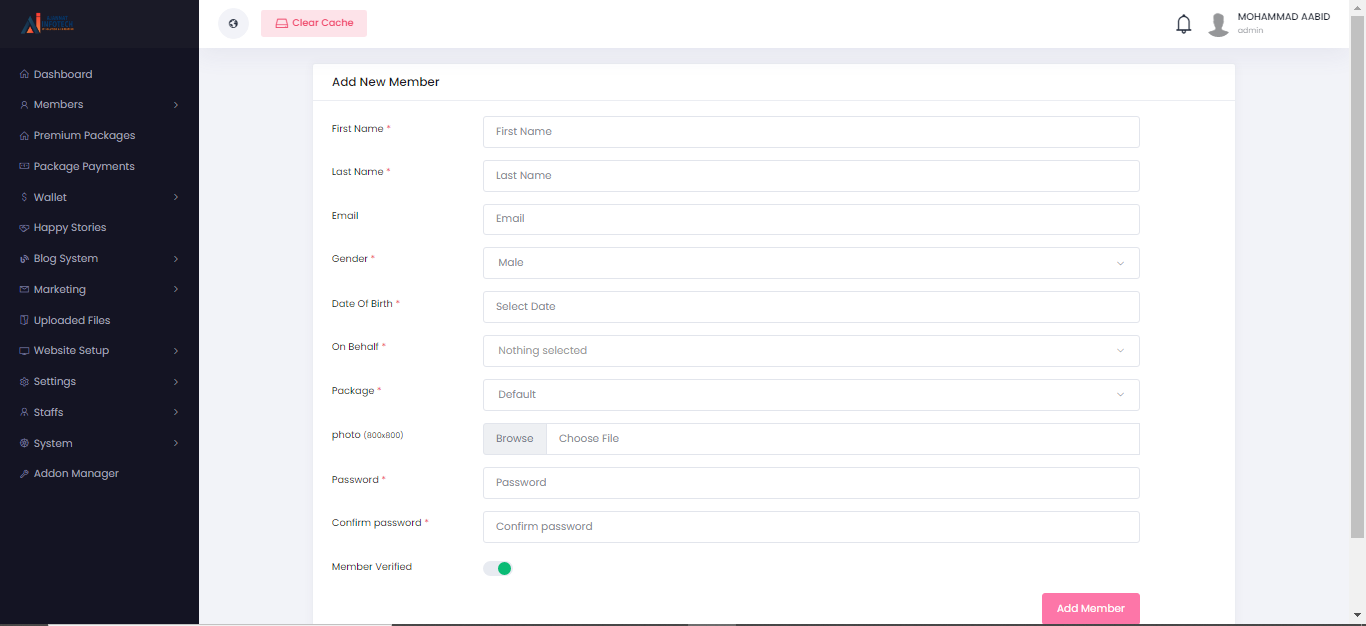
- Dynamic Profile System
- Quick Profile Editing
- Happy story upload
- Dynamic subscription system
Script Comes With
- Excellent support with a fast response rate.
- Fix any bugs or broken content.
- Help get you setup and installed!
- Secure Database that uses prepared statements so no SQL Injection!
- Protects against CSRF attacks!
- HTML Filter to protect against XSS attacks!
- Built using the latest Strong LARAVEL Framework.
- Passwords are encrypted By bcrypt encryption.
Server Requirements
These are the following server requirements of Online Matrimonial Website System Script Project:
- PHP >=7.3
- MySQL 5.6+
- mod_rewrite Apache
- BCMath PHP Extension
- Ctype PHP Extension
- JSON PHP Extension
- Mbstring PHP Extension
- OpenSSL PHP Extension
- PDO PHP Extension
- Tokenizer PHP Extension
- XML PHP Extension
- ZipArchive Extension
Online Matrimonial Website System Script Installation
These are the steps on how to install Online Matrimonial Website System Script Project:
● Extract the downloaded .zip file from CampCodes on your PC.
● Upload the Install.zip file to your server public_html or any other directory you
intend to run the script.
● Extract the zip file in that directory.
● Create a new database from your server MySQL database.
● Create a DB user to the database and link that database to the DB user.
● First, hit your site URL and it will automatically take you to the installation.
● Click on the Start Installation Process.
● You will get the Checking File Permission page. If everything is ok then click on
Go to the next step.
● Now you need to set Database Host, Database Name, Database Username,
Database Password, and click Continue.
● Now you need to import the SQL file.
● Now fill up the information of the shop and click Continue.
● Click on Go to Home/ Login to the admin panel.
How to update to the latest Version?
a. Extract the downloaded file from CampCodes.
b. There you will get a zipped folder named ‘updates.zip’. Upload that to the root
directory on your server in where your previous version is running. Unzip that
updates.zip file by selecting “Extract here”.
c. Now reload the home page and click on ‘Update Now’.
d. It’s Done!
e. The full system has been updated with a single click.
f. Let’s Browse Active eCommerce cms Latest Version.
Related Questions for Installation
Question 1: Do i need VPS OR Dedicated Server?
ANS: No you can run our product with shared server too.
Question 2: Which Hosting Provider will be best you think?
ANS: Any hosting provider who provide Cpanel Based Hosting.
ANS: Cpanel is a Control panel for server. You can Check More Here
Question 4: Don’t have Cpanel?
ANS: No worry, its working with any control panel but Cpanel is too easy to manage, for that we recommend Cpanel based hosting.
CRON Settings
Automate your system with Cron
Set the General cron to run once a day in your control panel. The General Cron will create and send invoices to your clients based on expiry dates and automation settings.
Set the Email Piping cron to run as frequently as you want. This will import emails from customers and create support tickets automatically.
Email piping only works if Email Piping Settings are set up correctly.
SETTING UP CRON IN CPANEL EXAMPLE:
How to Set up the Footer part?
Ans : From admin panel navigation Click on Website setup > Footer,
I. About Widget
● Footer logo- Insert Footer logo
● Add Description- Insert description
● Contact Info Widget- Insert
❖ Contact address
❖ Website Link
❖ Contact Email
❖ Contact Phone
II. Link Widget One
Titel- Insert Useful links Title
Links- Insert link name and links,
❖ Link-1
❖ Link-2
❖ Add new
III. Link Widget Two
❖ Same as Link Widget One
IV. Link Widget Three
❖ Same as Link Widget One
V. Mobile app Widget
Titel- Insert Title
Links- Insert Play Store, App store image and link.
VI. Footer Bottom
● Copyright Widget
❖ Insert Copyright Text
VII. Social Link Widget
● Show Social Links? – Click Button to On/Off
● Social Links-
❖ https://www.facebook.com/
❖ https://www.twitter.com/
❖ https://www.instagram.com/
❖ https://www.youtube.com/
❖ https://www.linkedin.com/
VIII. Then Click on the Update button.
How to manage Policy Pages?
Answer : To upload content of policy pages such as terms & conditions and privacy policy , follow the steps admin >Website setup> Pages.
How to manage Custom Pages?
Answer :
1. Login to the Admin Panel.
2. From the Navigation, go to Website Setup > Pages.
3. Click on the add new page button to create a new page.
4. Insert page TItle, Unique page slug, page contents and SEO information.
5. From the pages listing page select your required page to edit and delete.
How to Set up the General Part?
Answer : For General settings. follow the steps admin >Website Setup>Appearance.
1. General Part:
● Frontend Website Name: Write website name
● Site Motto: Write your website motto.
● Site Icon: Select your own icon.
● Website Base Color: Select Website Base Color. (Hex Color Code)
● Website Base Hover Color: Select Website Base Hover Color (Hex Color
Code)
● Website Secondary Colo: Select Website Secondary Color(Hex Color
Code)
● Member Public Profile Page Banner: Add an image for the left side
banner of the member public profile page.
● And click on the update.
2. Global SEO:
● Meta Title- Fill up meta title.
● Meta Description- Fill up the section of meta description
● Keywords- Input keywords.
● Meta Image- Upload meta image.
3. Cookies Agreement:
● Cookies Agreement Text: Insert cookies agreement Text.
● Show Cookies Agreement?: On/Off the show cookies agreement.
4. Custom Script
● Add custom script from here.
How to set up Website Language?
1. Log in to the admin panel.
2. To set language go to admin navigation > Settings > language.
3. Select system default Language and save.
4. Add new language by inserting language Name and Code(short form of language name). And Click on the save button
5. Select “view” from “actions” button on required language from the list.
6. Input the value of the key words according to the language. These words will appear on the site.
7. Then click on save.
How to Manage Currency?
Answer : Log in to the admin panel. And Go to left navigation bar and click Settings
> Currency
Add Currency:
1. Click on the “Add new currency”.
2. Fill the form with Name(eg US Dollar), Symbol(eg $), Code(eg USD), exchange rate(1USD = ? eg 100)
3. And then click save.
4. You can also edit a currency and make a currency as default.
online matrimonial website system script add currency
Setup Currency:
1. Switch on the required currency and save from all currency lists.
2. Select system default currency and save.
3. Select symbol format, Decimal Separator & no of decimals and save.
How to manage Payment Methods?
Answer : To configure them follow the steps,
1. Log in to the admin panel.
2. From the navigation, go to Settings -> Payment methods.
3. Then again from navigation, Setup And Configurations -> Payment method.
4. Insert necessary Information of the methods and Switch on by clicking the switchery.
a. Paypal – Insert the paypal client ID, Client secret and switched off the sandbox mode(which for demo transactions). Then click on save.
b. Stripe – Insert the stripe key, stripe secret which you will get from your stripe account and switch off the sandbox mode(which for demo transactions). Then click on save.
c. Instamojo – Insert the instamojo api key, instamojo auth token which you will get from your instamojo account and switch off the sandbox mode(which for demo transactions). Then click on save.
d. RazorPay – Insert the razor key, razor secret which you will get from your razorpay account. Then click on save.
e. Manual Payment Method 1: Insert the Payment method name, payment Instruction and an image.
f. Manual Payment Method 2: Insert the Payment method name, payment Instruction and an image.
How to configure the SMTP system?
Answer : To configure the SMTP system follow the steps below.
● If you’re using cpanel then follow this link
● https://blog.cpanel.com/setting-up-and-troubleshooting-smtp-in-cpanel/
● Create an email from your server panel
● After creating an email account, go to Active matrimonial admin Dashboard ->
Settings > SMTP settings.
○ Fill up the form as below:
○ MAIL DRIVER : smtp
○ MAIL HOST : your domain smtp host (sample: smtp.yourdomain.com)
○ MAIL PORT : 587/465
○ MAIL USERNAME : Your email id
○ MAIL PASSWORD : Your email password
○ MAIL ENCRYPTION : ssl/tls
○ MAIL FROM ADDRESS : Your mail address
○ MAIL FROM NAME : Your shop name
Complete Online Matrimonial Website System Script in PHP MySQL Project
- Name of Project: Online Matrimonial Website System Script Project
- Language: PHP
- Databases used: MySQL
- Design used: HTML JavaScript, Ajax, JQuery, Bootstrap
- Browser used: IE8, Google Chrome, Opera Mozilla
- Software used: WAMP/ XAMPP/ LAMP/MAMP
Related products

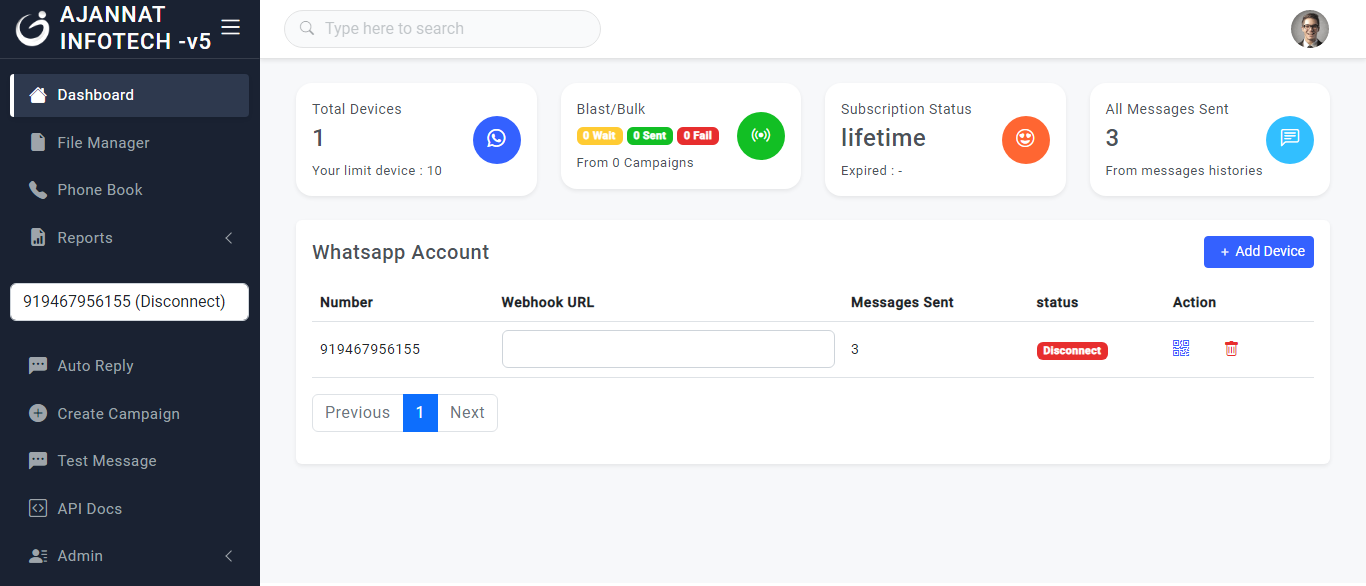
Whatsapp Massage Gateway REAL time Chat UNLIMITED Agent Add AJANNAT INFOTECH PVT LTD
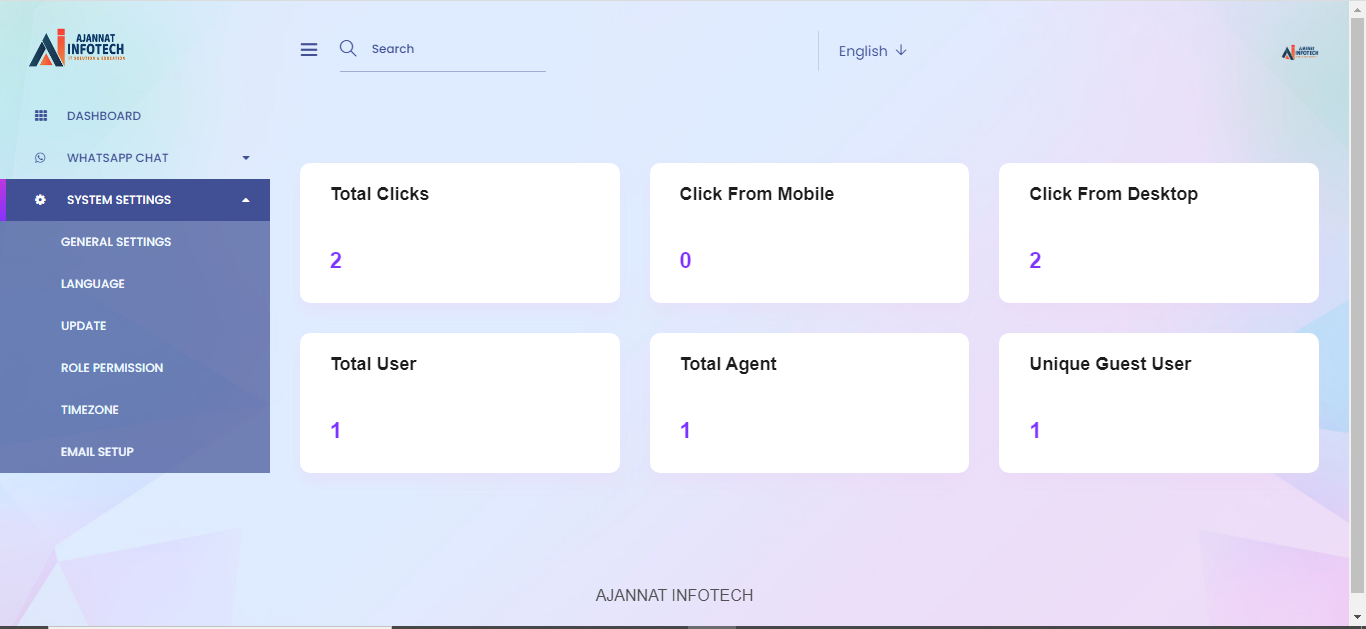
WORKSUITE SOFTWARE FULL SOURCE CODE CMS / AJANNAT INFOTECH PVT LTD
Whatsapp chat Boot System REAL time Chat UNLIMITED Agent Add AJANNAT INFOTECH PVT LTD

MLM Website CMS Source Code By AJANNAT INFOTECH PVT LTD
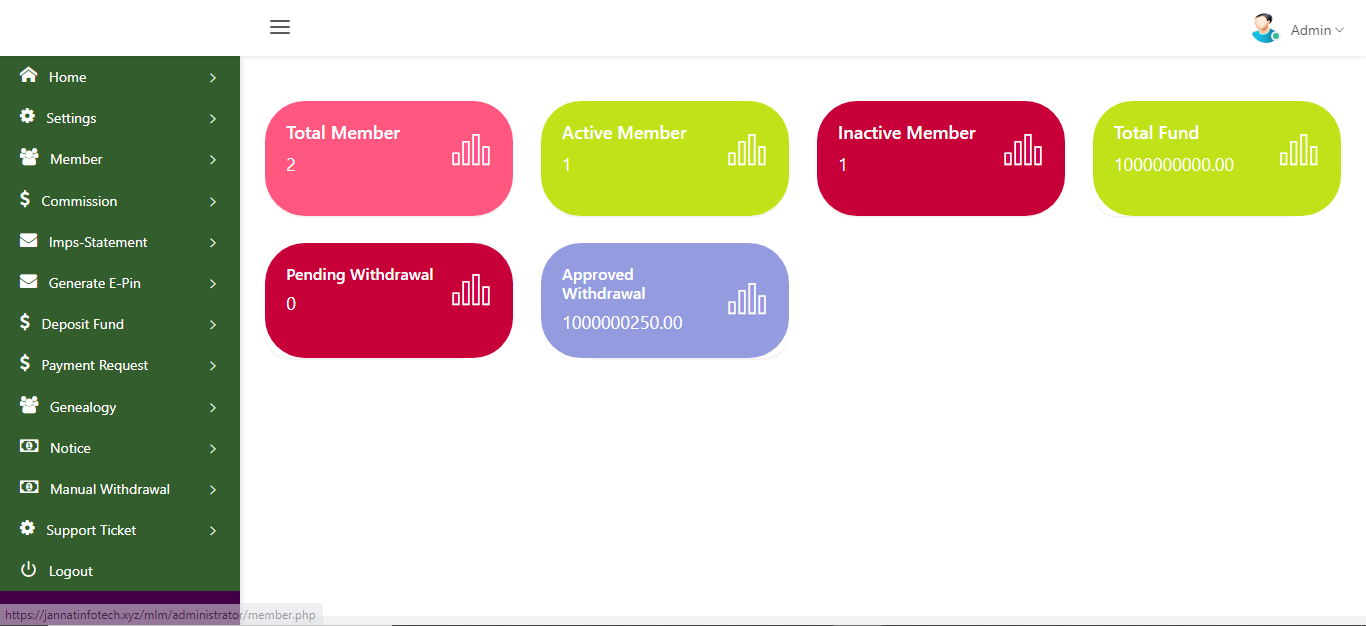
MLM Website Full Source Code By AJANNAT INFOTECH PVT LTD
AJANNAT INFOTECH PVT LTD. Provide All Kind Of Source Code At Low Cost as Compare To Any Other Seller's . So, You can Buy Portal Source Code, WordPress Plugins, Wp themes, And Etc,
All Products Sold On Our Website is controlled and scrutinised by our Quality Control team. The Average Response Time Will Be 1 Business Day.


Contact Info
- Address: Near Asian Hospital Opp Tractor Agency Rasulpur Chowk Palwal (Haryana)
- Phone: +919467956155 (WA-24X7)
- Email: [email protected]